of additional VM configuration and adding our boot ISOs to our local
datastore on pesx0. Picking up where we left off in part 5, in the
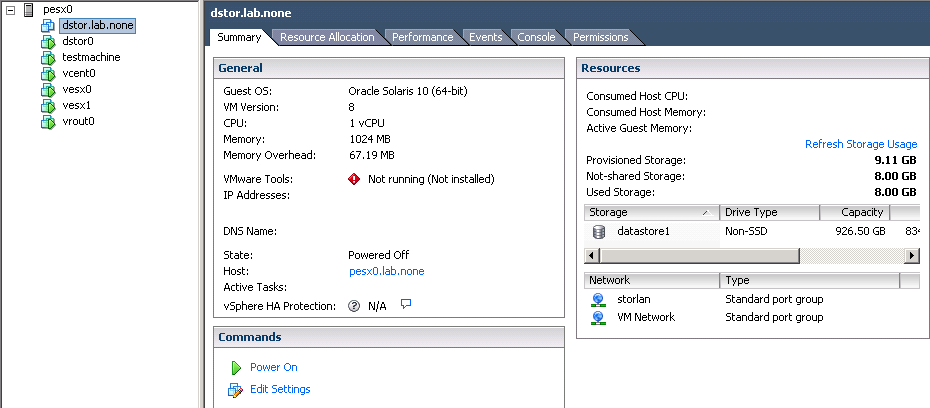
left pane, select dstor0 (dstor.lab.none will stand in in the following)
and click “Edit Settings”:
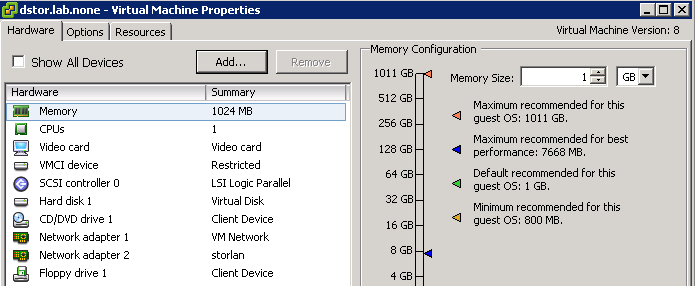
On the VM properties window on the “Hardware tab”, click “Add...”
at the top to open the add hardware wizard:
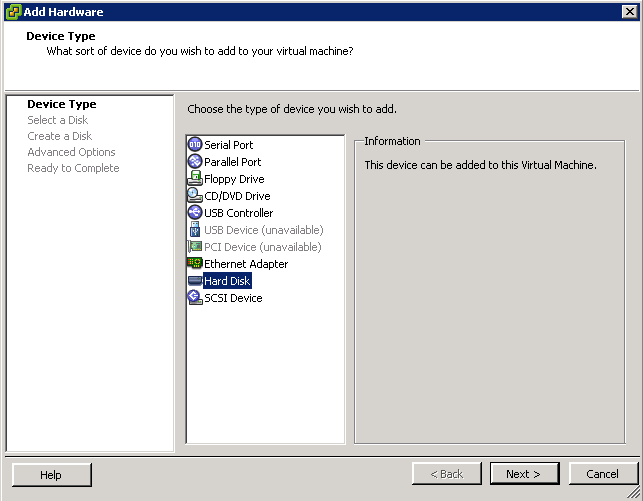
Here, we'll be adding a new hard disk to back end the datastore volumes
that we'll later present to the virtual ESXi hosts, vesx0 and vesx1.
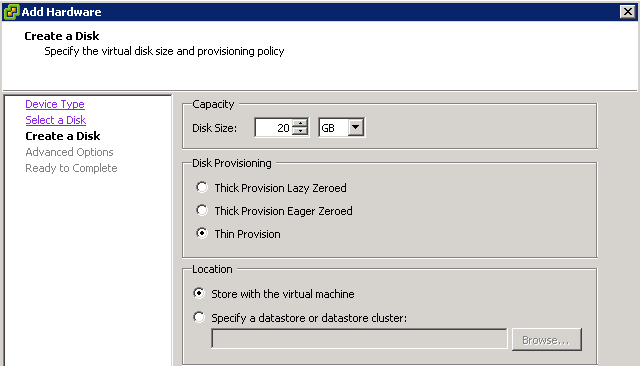
The next screen details a 20 GB disk, thin provisioned. (The default
is Thick Provision Lazy Zeroed). At some point later, we'll inflate
this disk but for now, go “Thin Provision”:
After accepting the rest of the default options, the properties screen
will show the new disk added and you can close out the properties screen.
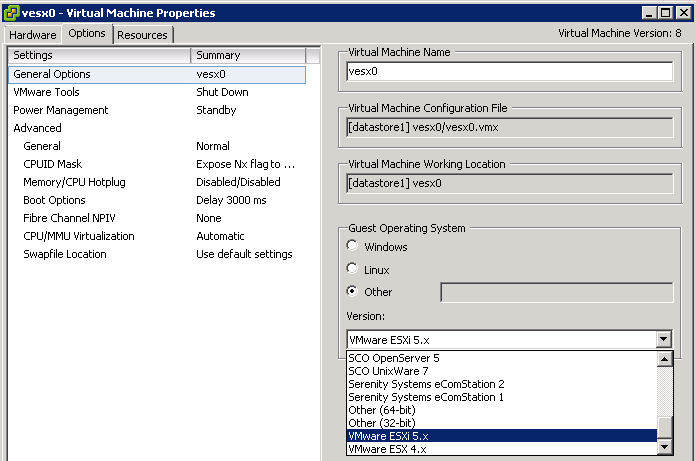
Now we need to update the nested ESXi hosts. In the left pane of the
vSphere client, select vesx0 and click on “Edit Settings” which will
bring up the screen for its VM properties. Choose the “Options”
tab and under “Guest Operating System” on the right of the screen,
you can now choose “VMware ESXi 5.x”, whereas it wasn't an option
during VM creation:
Still on “Options”, select “CPUID Mask” and choose “Expose
the NX/XD flag to guest.”:
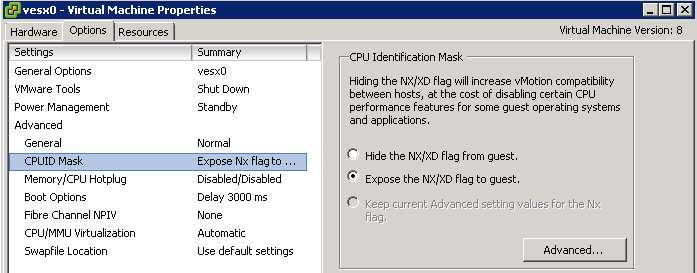
Once complete, close out of the properties screen and repeat for vesx1.
As an aside, visible in the above is that the “Boot Options” are set
to “Delay 3000 ms” instead of “Normal Boot”. I've deliberately
modified the boot option on this VM and the other VMs to give time
during VM power on to set the VM to boot from an ISO image. You can
choose to either do similar with a boot delay or set the boot option
to “Boot to BIOS”. (Choosing “Boot to BIOS” will save you from
rushing to present the boot image and will reset to “Normal Boot” on
subsequent boots.) Otherwise, the VM will attempt network boot if no
other boot option is available. The following shows both boot options
(I'd suggest “Boot to BIOS” under “Force BIOS Setup”):

At this point, we're almost ready to power on our VMs, however, we'll
first need to deal with the boot images for our various OSes. You have a
couple of options to do this, such as pointing to an image on an available
datastore, mounting a disk or image from the Windows host that we're
running the client from, etc. I've chosen to go the datastore route.
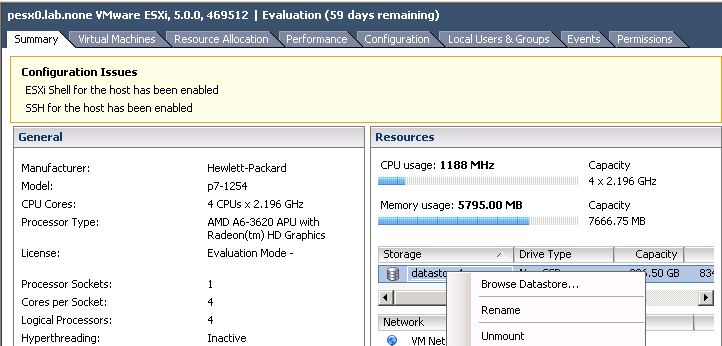
Selecting our ESXi host's (pesx0) “Summary” tab will show the
currently configured storage options, in our case, the local disk.
Right-click on the datastore and choose “Browse Datastore...” from
the submenu:
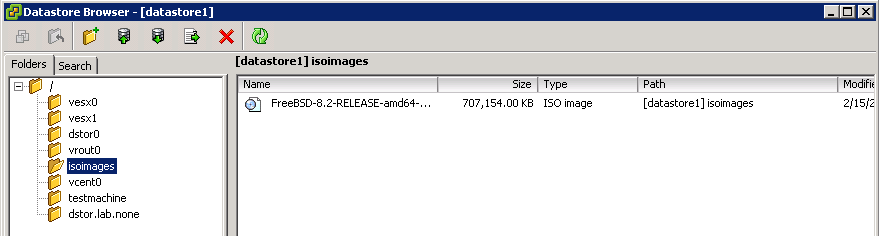
In the subsequent window, you should see a directory structure showing
your VMs. I've created an additional directory for “isoimages” and
have already loaded one boot ISO for FreeBSD:
To copy a file to the datastore, you can either load it here through the
“Datastore Browser” (VMware supported method) or you can load it
via 'scp' directly to an ESXi host (probably not a supported method).
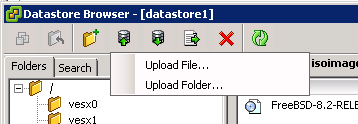
To load via the “Browser”, select the first cylinder (with the up
arrow) from the top buttons and select “Upload File...”:
This will allow you to upload a file to the datastore from fenster
(the Windows management host):
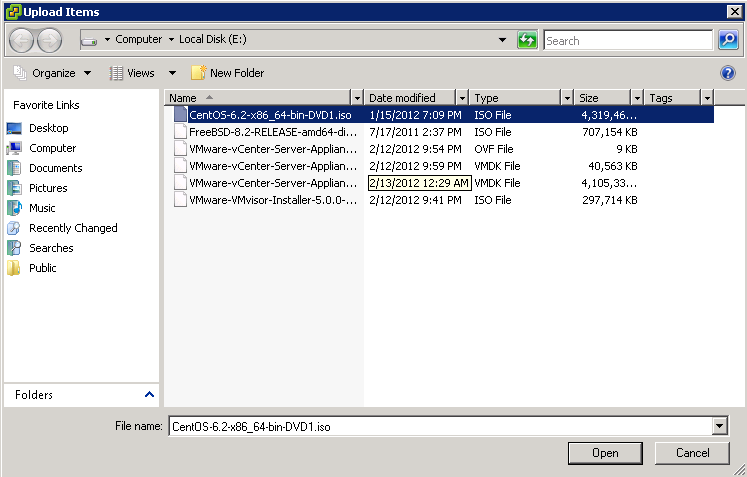
Select an ISO and click “Open”. You'll be prompted that whatever
you upload to the target location will overwrite existing files of the
same name. Continue past that and once the upload completes, you'll
now have that ISO image available on your datastore:
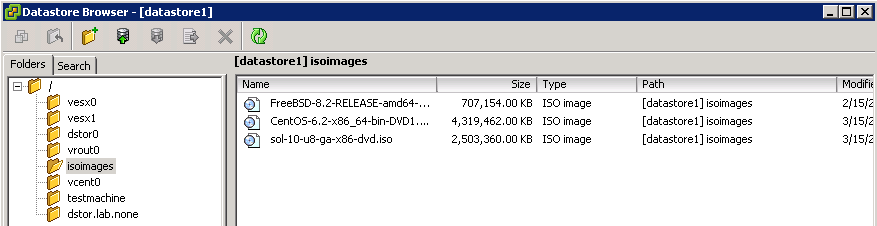
The Solaris image above is from uploading the ISO via the “likely
unsupported method,” which I performed from glados (the physical
management workstation from part 2). The steps to that are:
        glados [0] ssh -l root 10.0.129.200
        Password:
        The time and date of this login have been sent to the system logs.

        VMware offers supported, powerful system administration tools.  Please
        see www.vmware.com/go/sysadmintools for details.

        The ESXi Shell can be disabled by an administrative user. See the
        vSphere Security documentation for more information.
        ~ # . /.kshpr
        pesx0> /bin/mkdir /vmfs/volumes/datastore1/isoimages/
        pesx0> /bin/ls -F /vmfs/volumes/datastore1
        dstor.lab.none/
        dstor0/
        isoimages/
        testmachine/
        vcent0/
        vesx0/
        vesx1/
        vrout0/
        pesx0> exit
        Connection to 10.0.129.200 closed.
        glados [0] scp sol-10-u8-ga-x86-dvd.iso \
        > root@10.0.129.200:/vmfs/volumes/datastore1/isoimages/.
        Password:
        sol-10-u8-ga-x86-dvd.iso                        5%  131MB  25.3MB/s   01:31 ETA
        glados [0]
Of note, the above steps assume that directory “isoimages” didn't
previously exist and thus creates it. With our ISOs uploaded, we
close out part 6. In part 7, we'll continue with powering on our VMs,
attaching them to an ISO image on our datastore, and booting into the
guest OS installation for that VM.
see also:
vSphere 5 Lab Setup pt 1: The Overview
vSphere 5 Lab Setup pt 2: The Management Hosts
vSphere 5 Lab Setup pt 3: Installing the Physical ESXi Host
vSphere 5 Lab Setup pt 4: Network Configuration on the Physical ESXi Host
vSphere 5 Lab Setup pt 5: Infrastructure VM Creation
vSphere 5 Lab Setup pt 7: First VM Boot